Auto-Create and Send Client Invoices (using Notion & Stripe)
superSYSTM™ Details
This plugin auto-sends invoices based on status change in Notion through Stripe.
Compatibility
Installation Guide
There is one element of business that is far more important than the rest, and it’s getting paid. However without a process in place to manage and collect invoices, it’s very possible they’ll be forgotten and go unpaid for extended periods of time (I know because it happened to me!).
The following workflow is triggered by a Notion status change in our Financial SYSTM to automatically create and send client invoices via Stripe.
Here’s how to steal it for your own business (watch the video or read the guide below).
(Step 0) Create Notion Invoice Database
To use this workflow, you’ll need a Notion database to track invoice information. Include the following properties:
Name (point of contact - POC)
POC Email
Due Date
Status (Upcoming, 1st Reminder Sent, Paid, Overdue)
Sent Invoice Date (formula, see below)
Don’t forget to create sample data with your own info to test this workflow!
Note, this workflow is designed for our clients at _systms™ after their deposit is paid, which is required for onboarding.
‘Sent Invoice’ Formula
This formula will auto-calculate 14 days prior to the due date of the invoice, and act as the trigger for sending via Stripe.
dateSubtract(prop(Due Date), 14, "days")
Zapier Workflow
The following Zapier workflow uses four apps; Notion, Filter by Zapier, Formatter by Zapier, and Stripe.
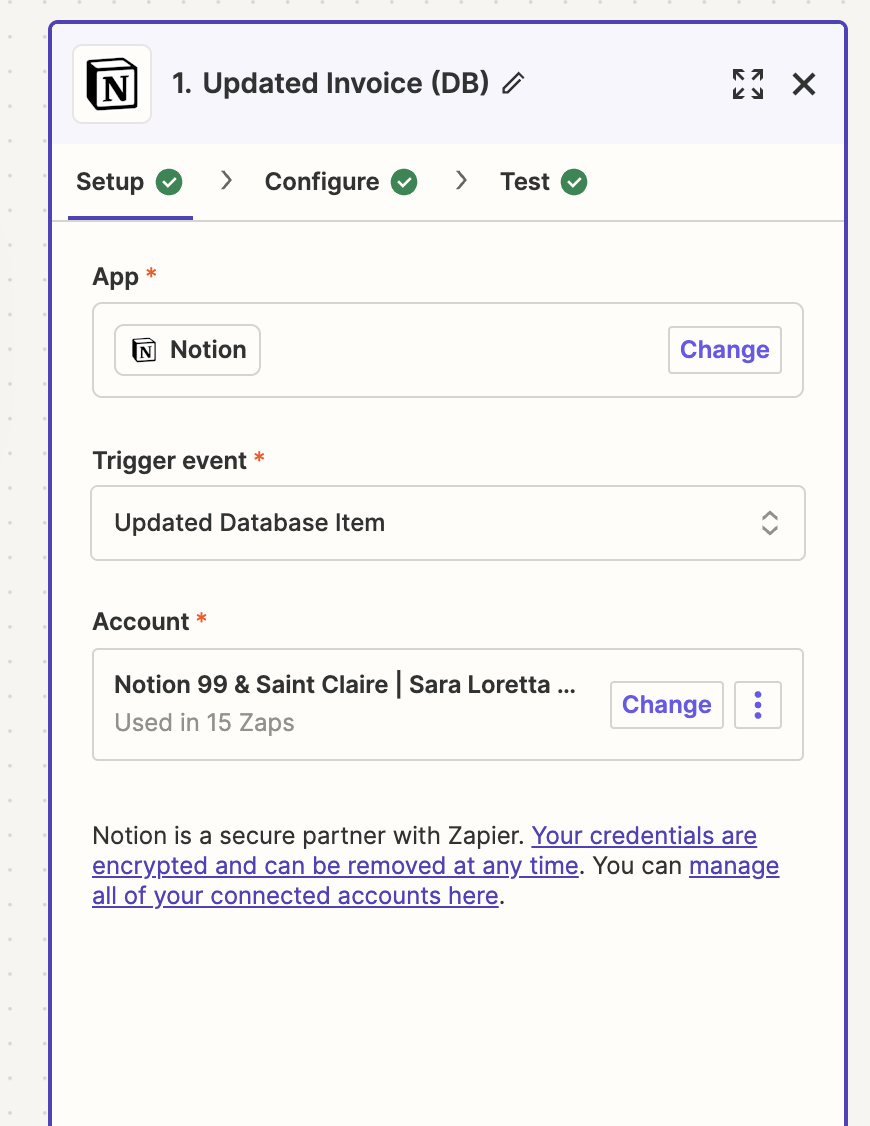
Step 1 (Trigger): Updated Notion Database Item
Trigger Event: Updated Database Item
Configure: (select Invoices Database)
Step 2: Filter by Zapier — Status
Configure: Continue only if Status is ‘1st Reminder Sent’
Step 3: Formatter by Zapier
— Invoice Currency
This step is required because Stripe does not read the currency from Notion, so we must format it the amount from “cents” to “dollars”.
Action Event: Numbers
Configure:
Transform: Perform Math Operation
Operation: Multiply
Input: 100; (Notion) Amount
Step 4: Formatter by Zapier
— Due Date
Make sure to use Due Date Start for this format. Just using the Due Date property will return an error.
Action Event: Date / Time
Configure:
Transform: Format
Input: (Notion) Due Date Start
To Format: MMMM DD YYYY
Step 5: Find Customer (Stripe)
Action Event: Find Customer
Configure:
Find By: Customer Email Address
Query: (Notion) POC Email
Optional: if nothing found, create an entry.
Step 6: Create Invoice (Stripe)
Action Event: Create Invoice
Configure:
Customer ID (use from step 5)
Amount (use Output from step 3)
Due Date (use Output from step 4)
Memo (optional for a personal touch)
Invoice Currency: USD
Send Invoice for Manual Payment: True
And that’s it! This workflow is simple and effective for auto-creating and sending client invoices. If you want to track all of your accounting in Notion, grab our Finance SYSTM here.
Need help with this superSYSTM™? Talk to us.


